The Future is now!
Everything electronical needs an input, whether it be a remote, a microwave, a computer, or a smartphone. The most simple of all theese inputs, is the button. But its loud. Its clunky. Its a moving part. Its cheap to replace!
So why dont you replace it, with the new, improved, Magical Button!
Utilising the latets in hyper-sensitive capacitive touch technology, The Magic bUtton requires even less force to activate then a traditional mechanical button!
So how does it work?
As with all somewhat underwhelming technological marvels in the modern age, our test dessign is completely
OPEN SOURCE
And its never been easier to read!!
What does it do?
Installation instructions
Once youve unboxed your brand new piece of state if the art electronic engineering, you can begin the assembly process
This kit includes
- 1 TOUCH SENSOR
- 5 SINGLE CORED COPPER WIRES
- ONE HYPER ADVANCED TOUCH SENSOR
- ONE OUTPUT DEVICE OF YOUR CHOOSING, SELSCTABLE ON OUR SALES SITE
- (CHOICE OF LED, IN RED, BLUE, GREEN OR WHITE, OR A BUZZER)
- ONE ARDUNO UNO R3/R4
- ONE SEVERLY OUTDATED USB TYPE A/USB TYPE B 2.0 CABLE
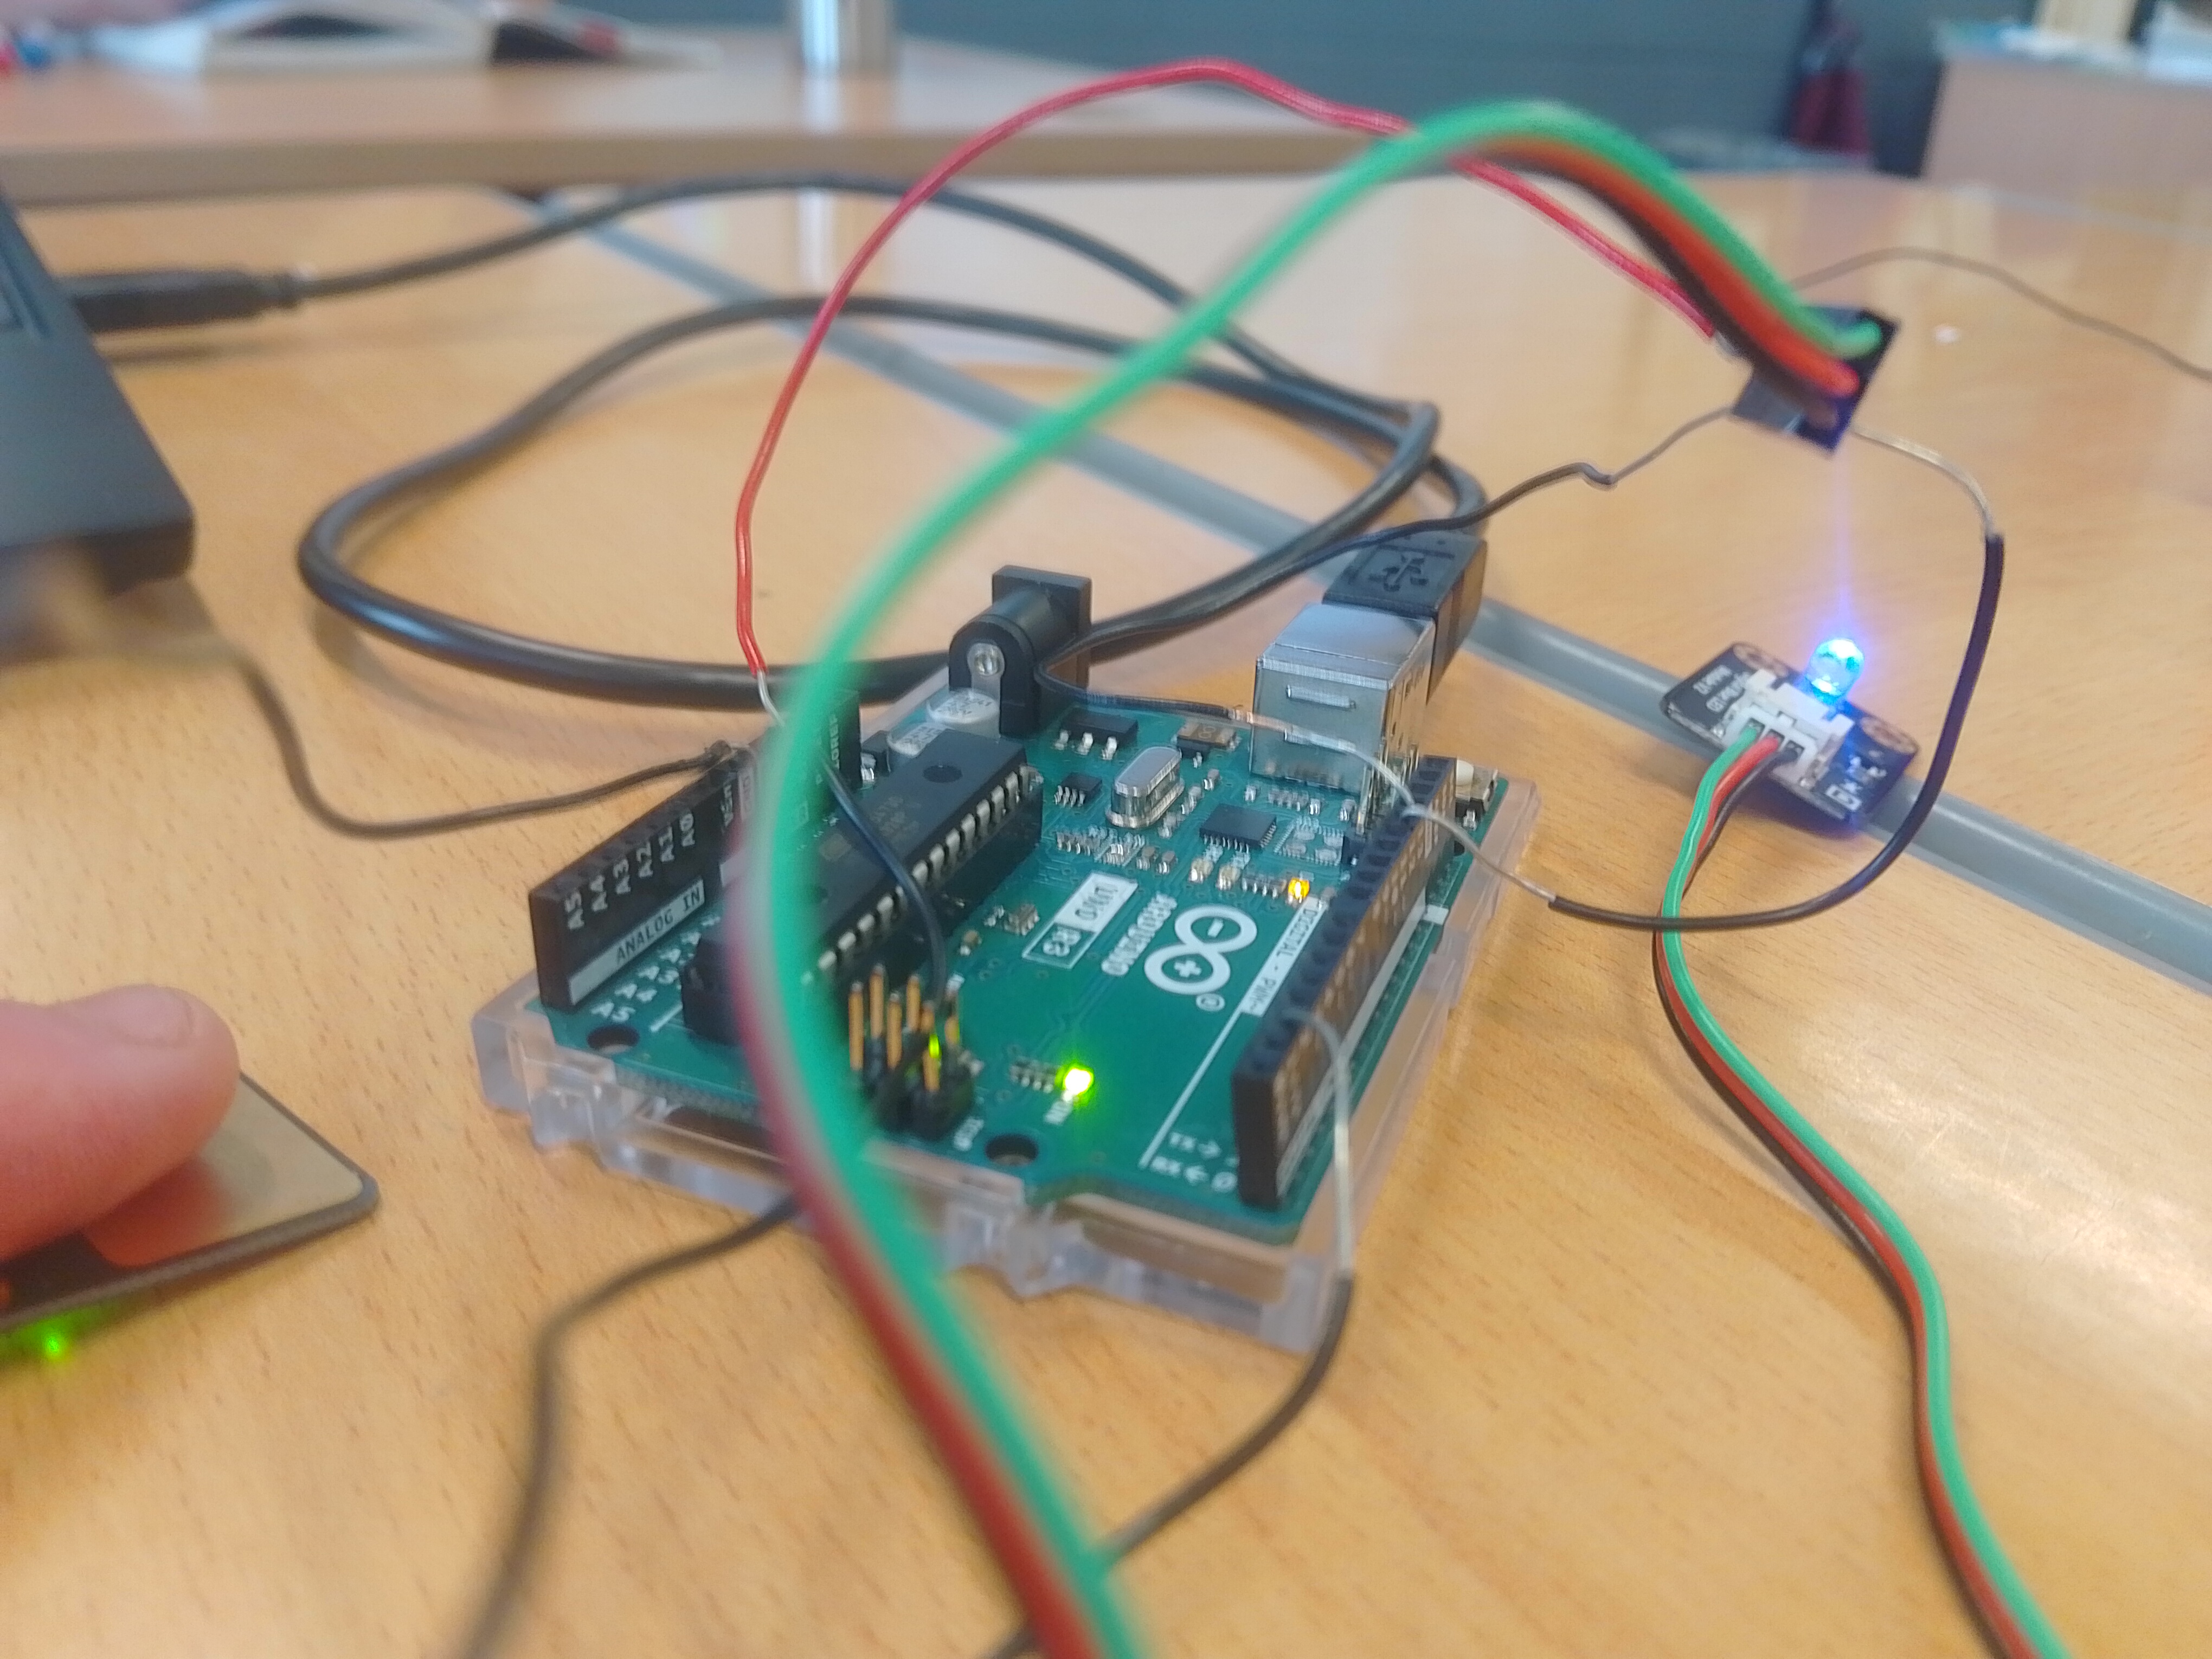
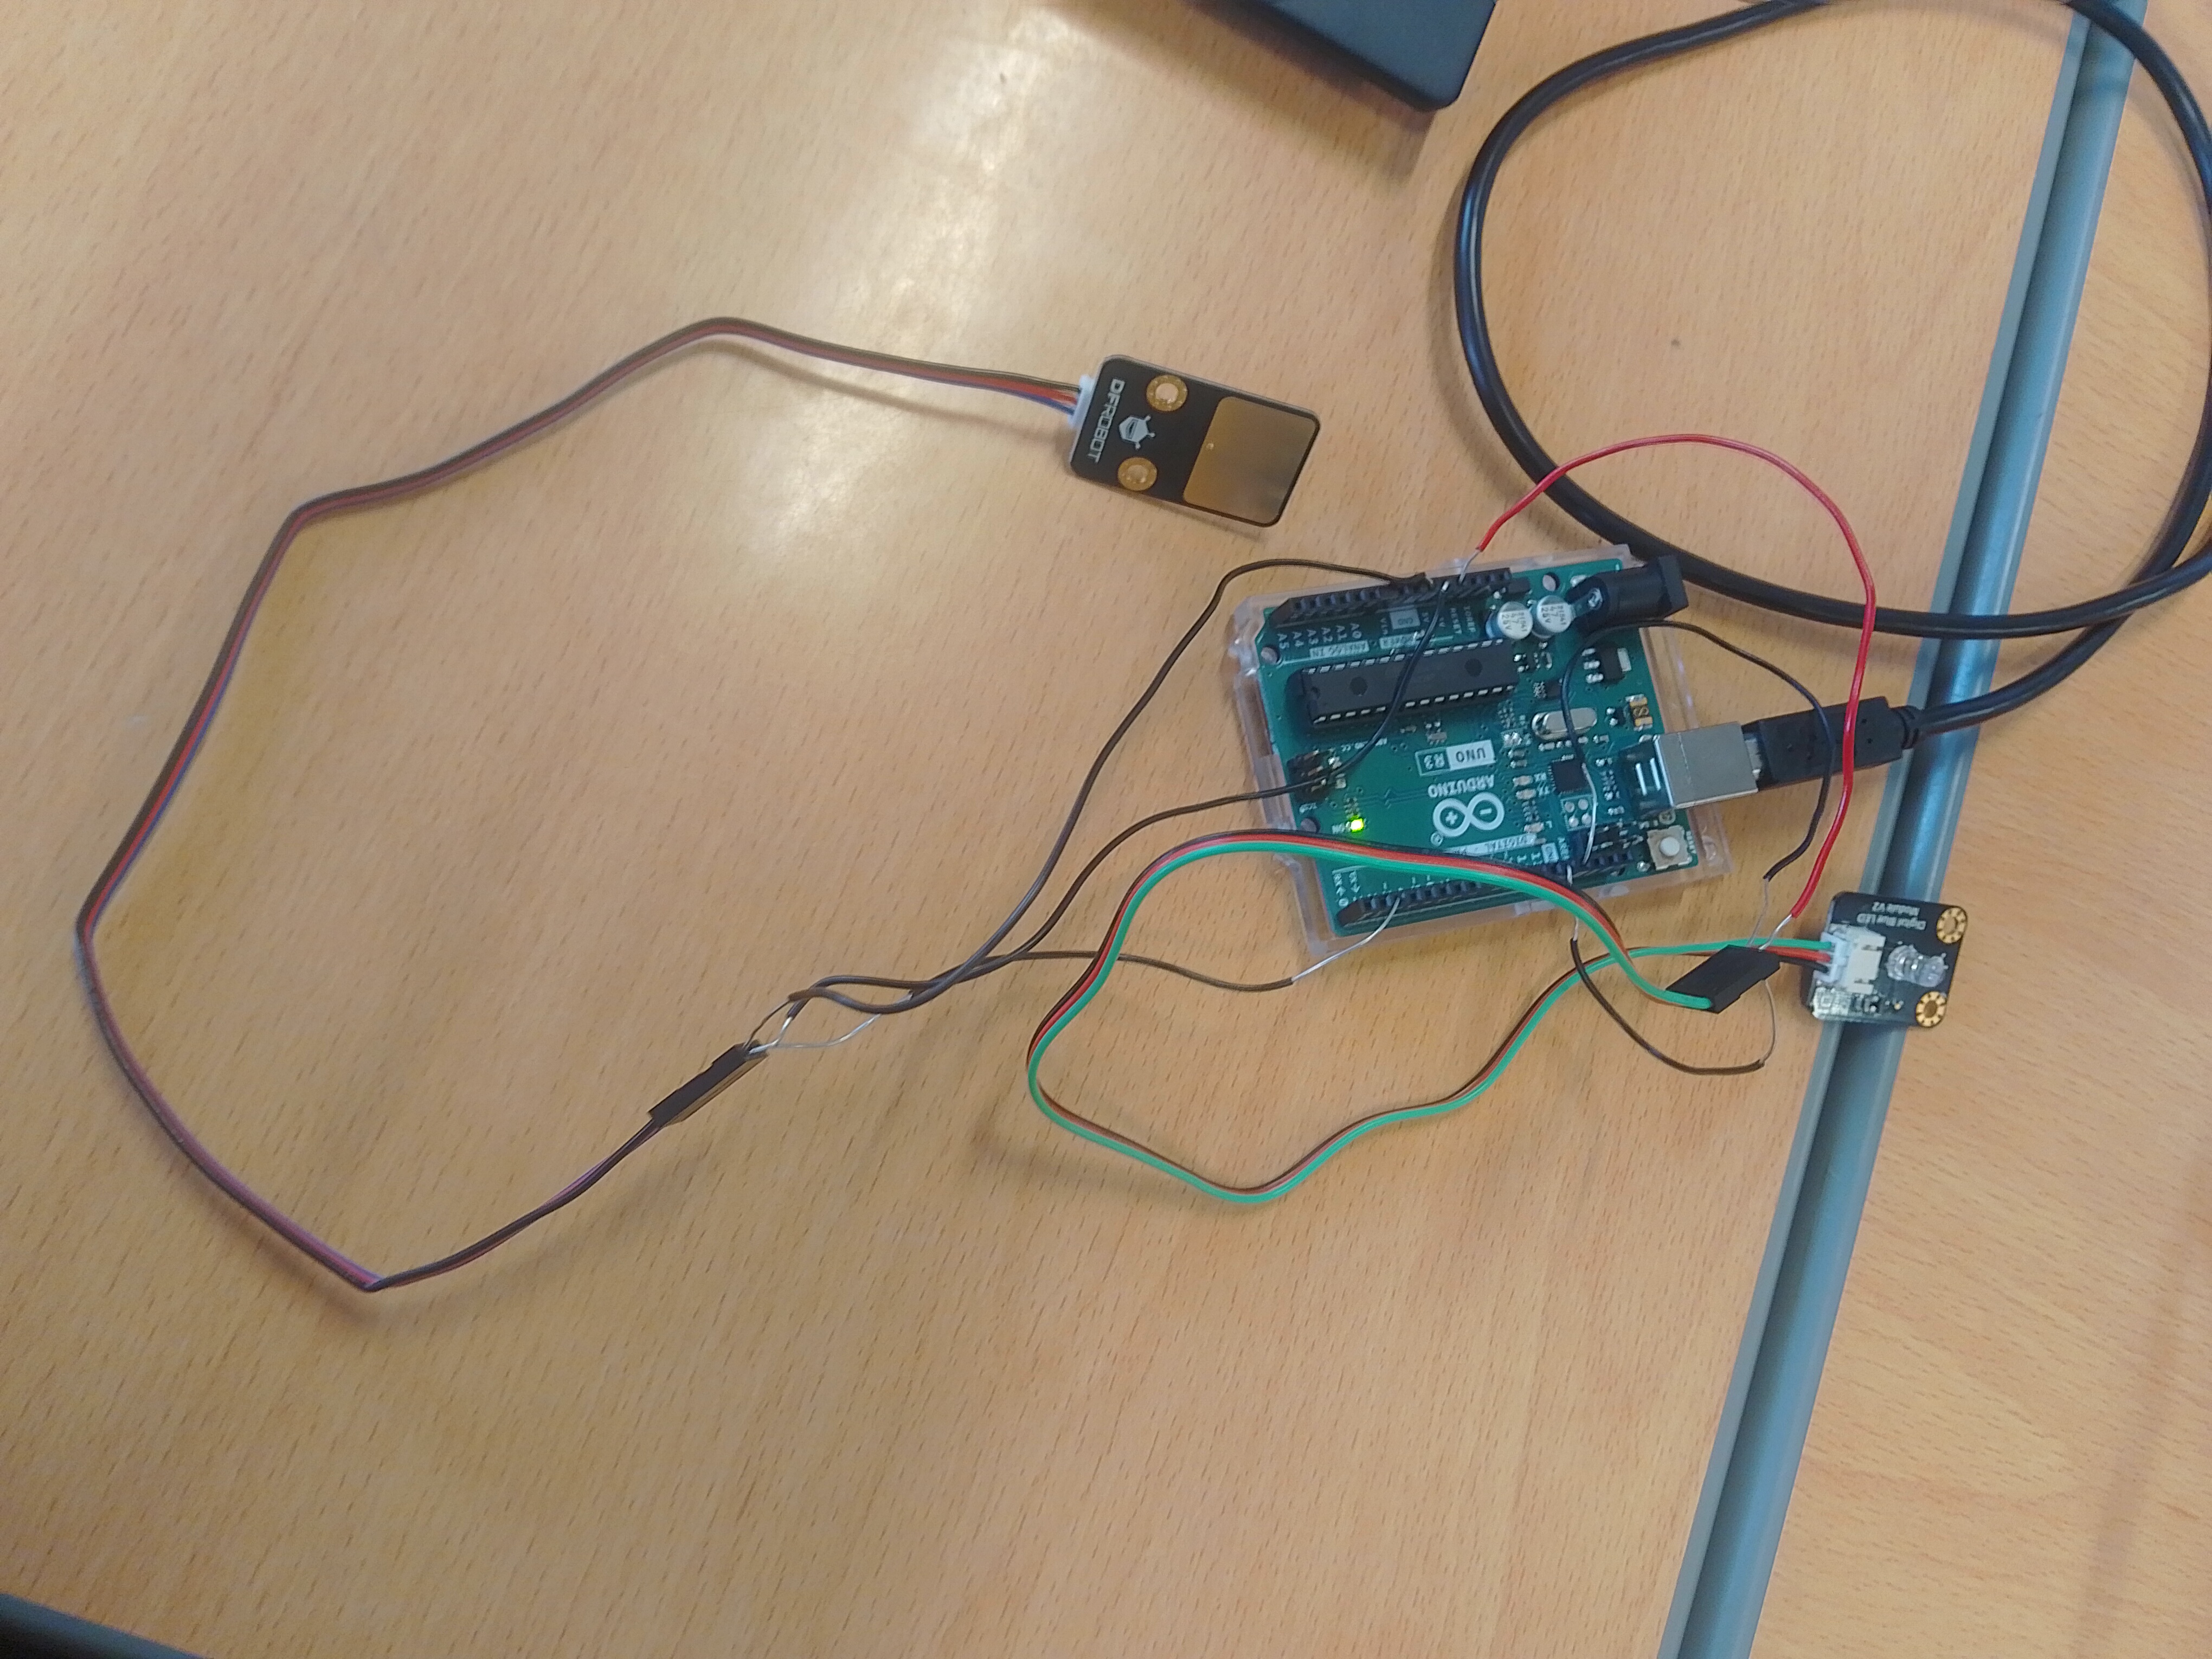
- Unbox your components.
- Begin the wiring process. Connect the black wire on the touch sensor to ground, the red wire on the touch sensor to 5V, and the blue wire to Digital Pin 2 on the Arduino
- Then connect begin wiring the LED or buzzer. Wire the black wire on the buzzer to ground, the red wire on the buzzer to the 3.3V line, andthe green wire on the buzzer to digital pin 13 on the Arduino
- Then use your provided USB cable to plug the arduino into your provided computer